Work in Progress: Neutrino Probe – Business End
 Well, well, well, what do we have here? Might that be a long overdue update on the Neutrino Probe project? “No, that’s impossible!”, you might think. After all, the last update was almost exactly one year ago! How could this still be a go? Well, you better believe it ’cause this baby is alive and kickin’! Still not positive? Jump past the break to look for yourself. Have you ever been told that you’re hard to convince of something?
Sometimes, you want to finish something as quickly as possible. You desperately want to make progress, feel the urge to get back to it continuously and yet you can’t find any time to do just that. You just can’t, and every step takes forever as a result. That pretty much sums up the situation I’m in right now with this project.
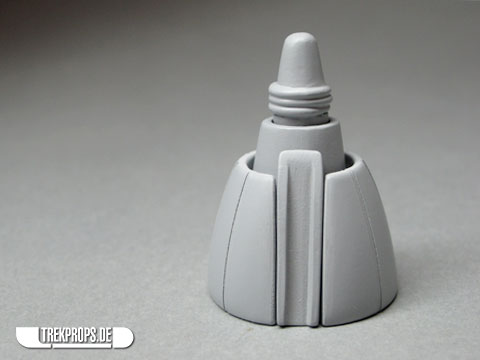
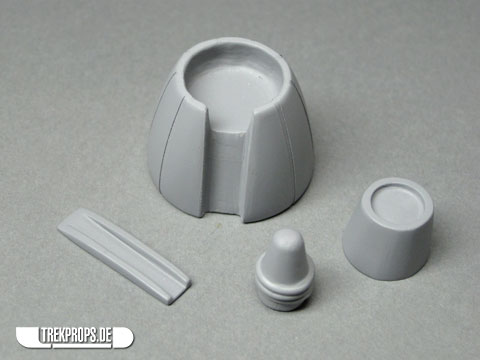
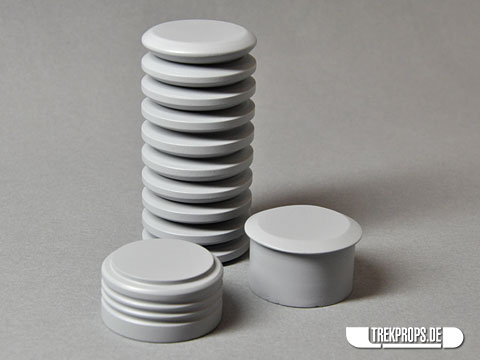
Anyhow, as you can see I finally did manage to take the next step by finishing another important part of the tool – the business end! It’s a very detailed piece that consists of four separate parts right now (I’m not sure yet how I’m going to mold it though). And four very tiny parts I might add. The smallest one is only 5 mm in width!
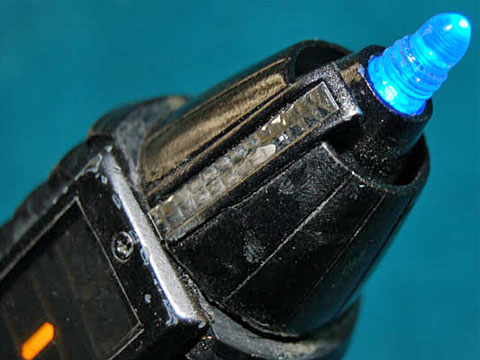
This is by the way the part of the probe that was originally made from a disassembled nose hair trimmer. Unfortunately, despite my best efforts I wasn’t able to identify the exact model or even manufacturer of that trimmer, so I couldn’t use the original and had to scratch-build something instead. It was one hell of a lot of tedious work, but – to be honest – the result is probably nicer and cleaner than any found item, which makes the whole thing worthwhile in my book.
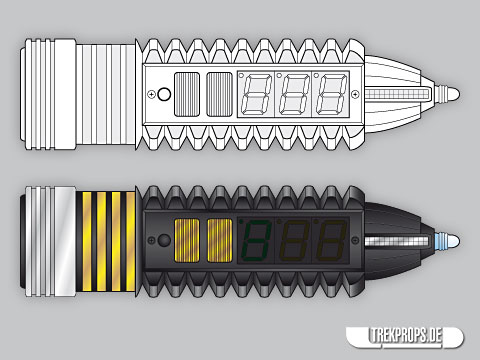
But, judge for yourself. To refresh your memory, here’s the front part of the original prop as well as the schematics I did as preparation for this project:
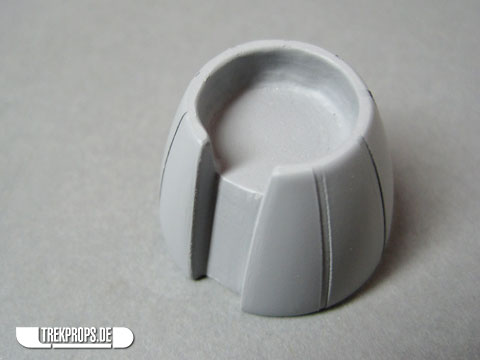
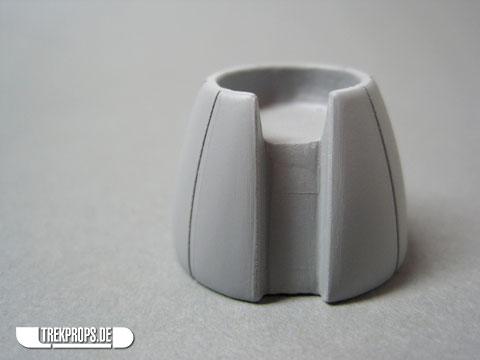
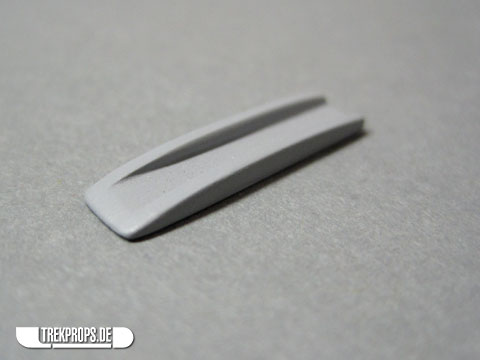
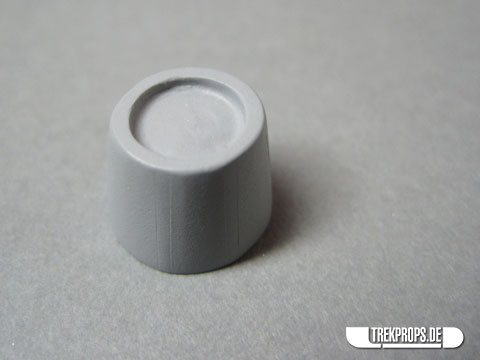
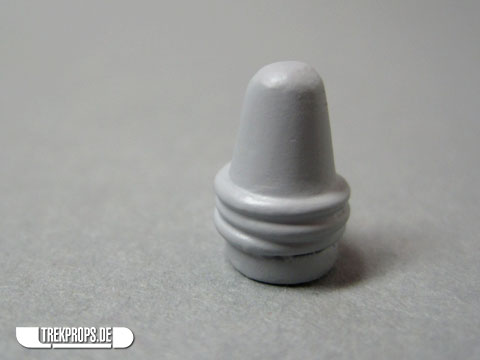
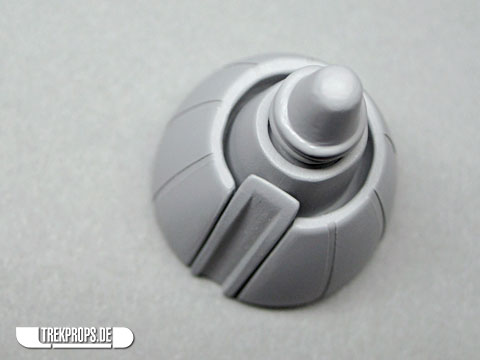
And here are the pictures of my finished multi-part piece:
So, let’s get down to business. How did I create these parts? Here we go:
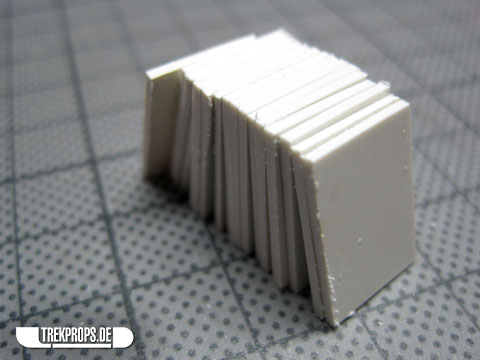
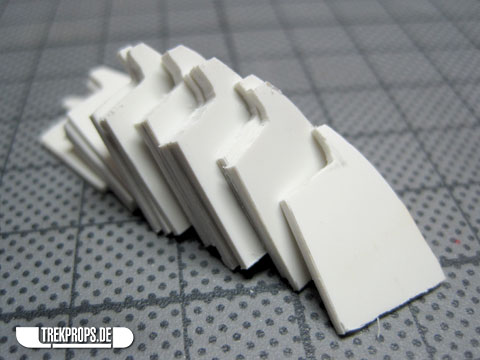
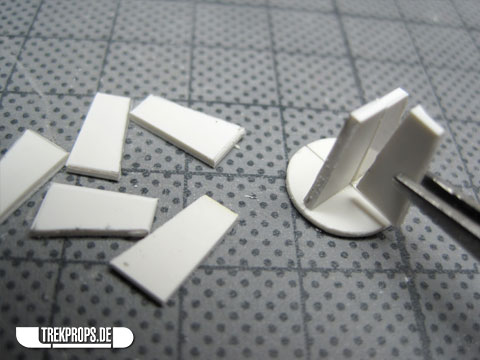
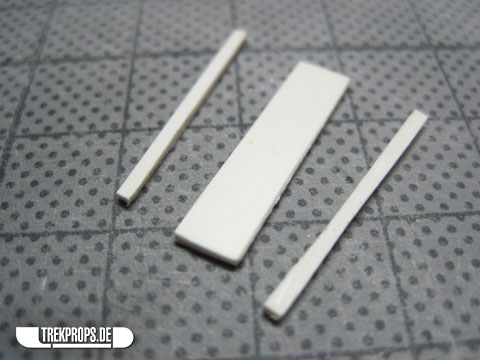
It all started with some more or less precisely cut pieces of styrene, my material of choice when it comes to scratch-building stuff.
They would make up the body of the largest piece. Which is round. Which meant that I had to sculpt it somehow since I didn’t have anything that I could’ve used as a base piece.
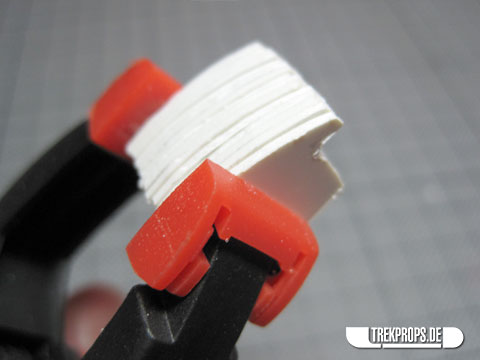
So I marked an appropriate line for the outer curvature on all pieces and cut them with an X-acto knife.
As you can see, I also cut some material away at the top to make it easier to create a recession there later.
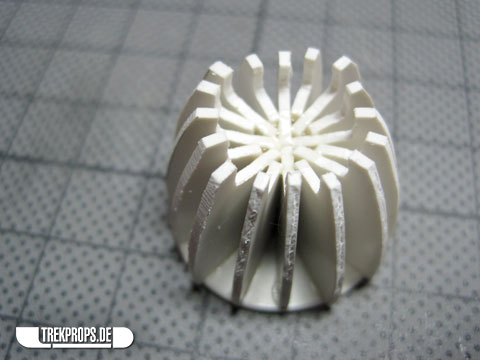
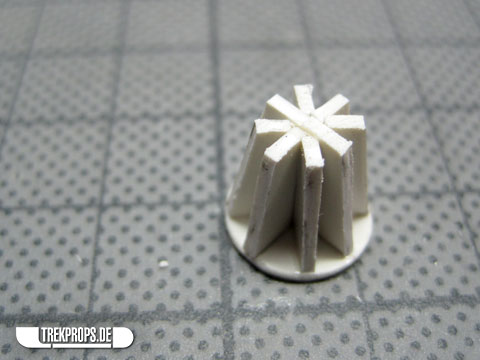
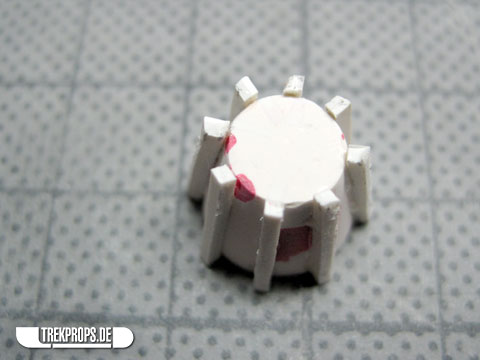
Then I arranged them in a circular way to build a kind of skeleton structure and glued them together using plastic glue.
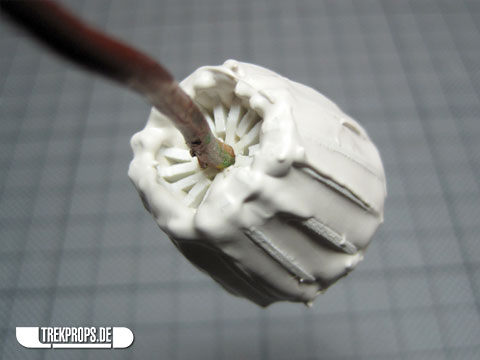
The next step was to fill the spaces between the “ribs” with putty to “put some meat on the bones” as it were. 😉
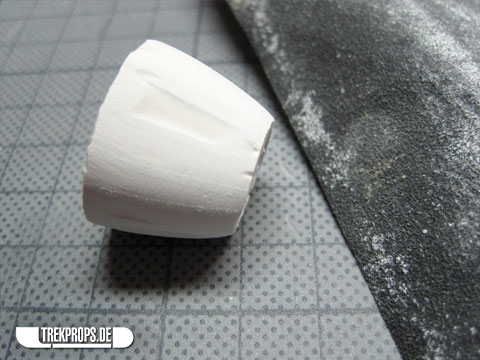
Then the sanding began. Oh, boy. The sanding – that’s the kind of work that I’d like to have an assistant do for me or something. On the other hand it gives you great control over the final shape of your piece. The downside is that it takes a long time. A very long time. And especially so if you’re only one bit as anal about a perfect surface as I am… 😉
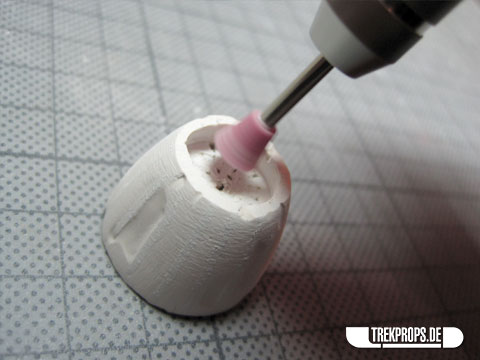
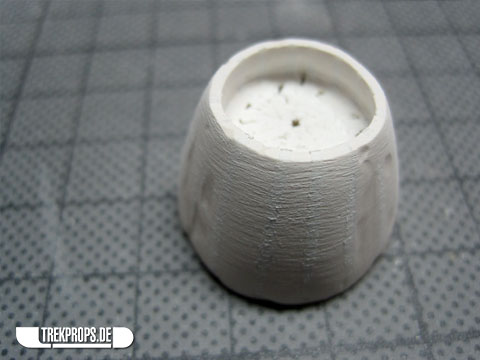
While sanding the outer surface of this part I also paid some attention to the top side of it where I needed to have a pretty substantial indentation with a thin lip around it. To achieve this I used a mini-dremel with an appropriate attachment to remove material from both the surface inside as well as the “walls”.
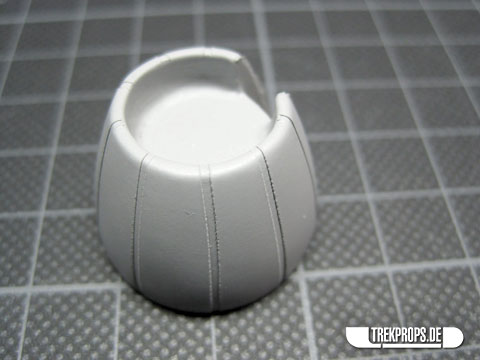
Here is an intermediary result. Looks pretty nice already, doesn’t it?
On to the next part, which is essentially the same deal as the first one, except smaller and with a more straight profile. And when I say smaller I mean like 9,5 mm tall! That’s pretty tough to even hold in your hands (depending on what kind of hands you have of course). But holding it while trying to leave some room for sandpaper to work on it? Yep, you guessed it – that’s not easy to say the least. To illustrate: I even had to use tweezers to glue the “styrene skeleton” parts in place, which were only a couple of millimeters in width.
Here’s another preliminary result, this time a bit smoother. As you can see, I used spot putty on the smaller piece to fill in tiny holes and gaps.
And this is where Murphy came into play. It turned out that I had miscalculated something or simply had visually misjudged the proportions of this small piece. Anyway, it was evident that it was too thin and I had to somehow make it thicker – or wider if you look at it from the side.
Sounds easy, but how should I do that? Well, after thinking about it for a bit I decided to simply add material by gluing small strips of styrene to the side of it and fill it with putty as before. Yay, more sanding! Not exactly what I wanted to do but it sure did the trick:
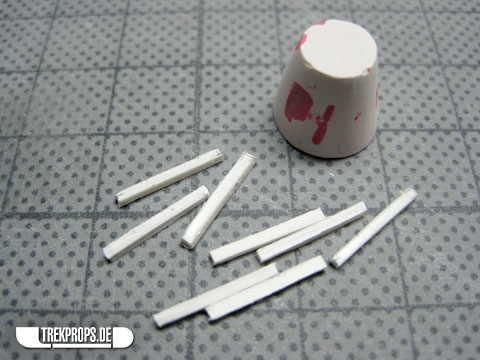
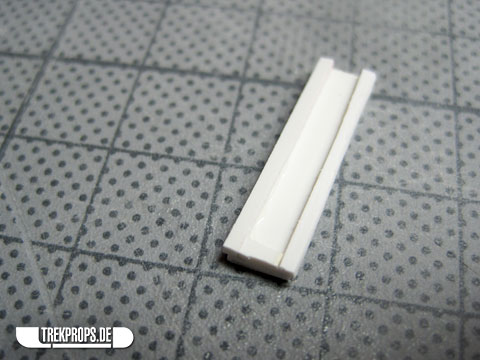
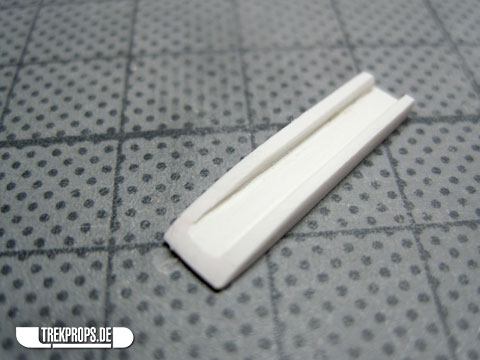
After that small setback, I moved on to the next part, which is a kind of add-on to the first, “big” base piece. I made it basically from four small strips of styrene, which I glued together and sanded in shape.
A little putty to hide the seams:
A little sanding – done.
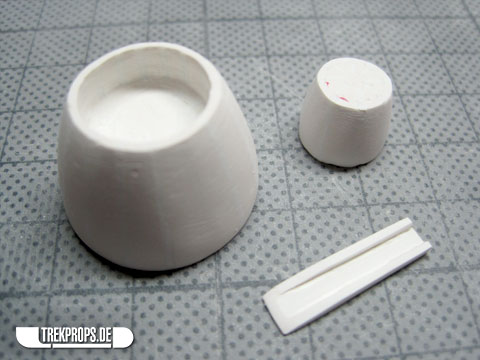
So, here are all of the three pieces that had been done at that point:
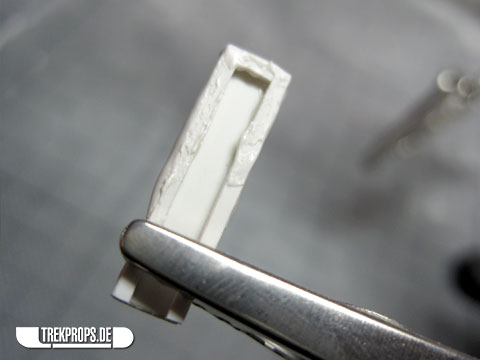
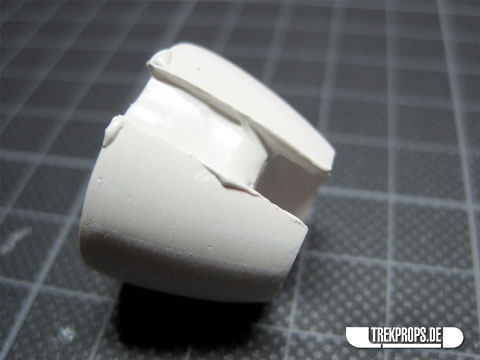
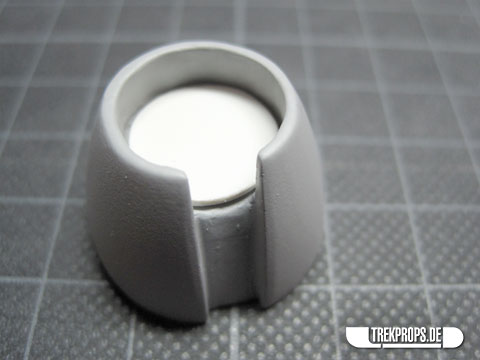
Next, I had to make the small, narrow part fit into the bigger base. So, I cut a piece out of the side of it and added some putty back in to make the new surface nice and smooth. Again, I used my mini-dremel to do that, this time with a small circular saw attached to it. I also used various small files to work on that slot.
While working on any of these pieces, by the way, I sprayed light coats of automotive primer on them all the time to reveal small blemishes, scratches or any kind of unevenness that needed to be fixed.
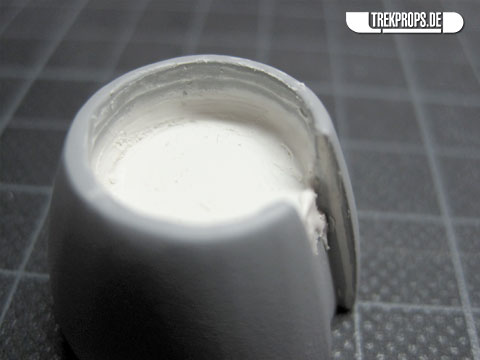
It wasn’t until I had created this slot that I noticed how deep I had carved the indentation into that big piece from above. Clearly too much! When put together, the final element of the prop would not have looked very good like that. So I had no choice but to improvise again and insert a round piece of styrene to raise the level of that surface a bit. This of course meant that I also had to putty it to blend it to the “walls” inside:
A lot of sanding later – and I mean a LOT of sanding later – the mistake was corrected and the surface both inside and outside was smooth as an androids butt. Also, the small add-on piece fit in its place perfectly.
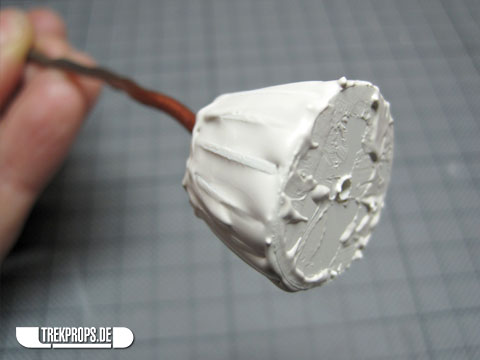
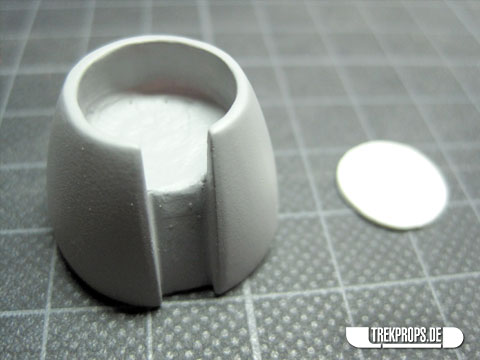
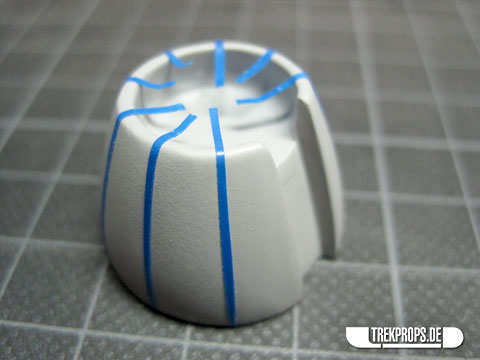
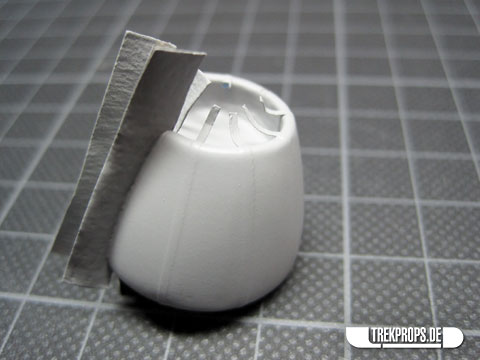
To finish this piece off I had only one thing left to do and that was to create tiny grooves on the outside as a bit of detailing to give it some structure and make it interesting, not to mention match it with the original of course! To do that I cut tiny pieces of tape and put them on where I wanted the grooves to be.
Then I applied several coats of primer to add some material to the outside.
Then I removed the tape and voilà – micro-detailing! 🙂
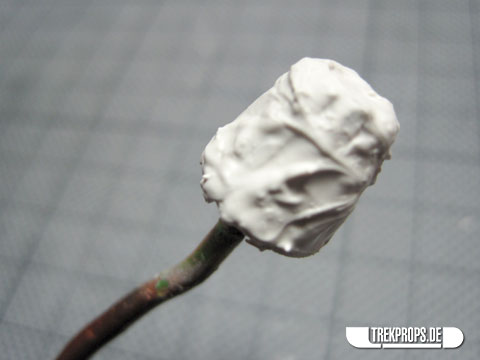
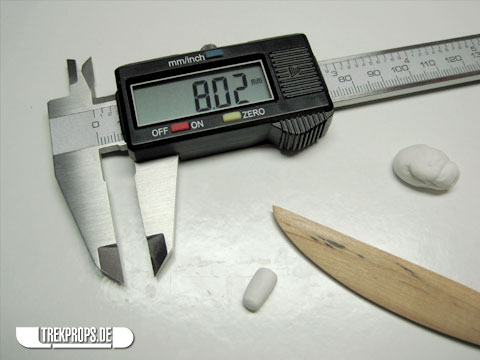
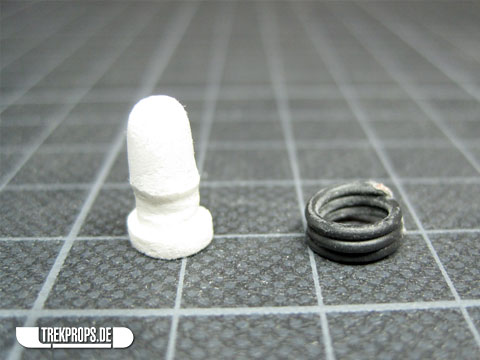
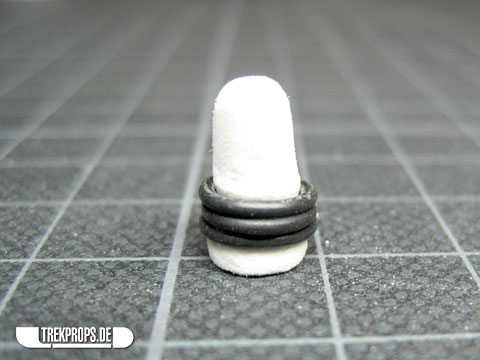
Last but not least I had to tackle the emitter tip, which proved to be extra challenging. What I needed was a very small piece with very specific measurements and three tiny rings around it. At first I had no idea how to achieve this, but then decided to try to sculpt the tip from air curing clay which worked out quite well.
The three rings around the tip gave me a headache though. How the hell should I sculpt those by hand? It seemed impossible. Then I had the idea to wrap a bit of wire around it to at least get an approximation of what I wanted. It would be a short spiral instead of three separate rings, but that was the best I could think of. And it turned out that it worked really well and looks very nice even if it’s not perfect. After all, it’s only a very small part of the final prop…
So, here’s the final result again:
Note that I added a small indentation on top of the middle sized piece as well, similar to the one on the big base piece to create a small lip and a place for the emitter tip to fit in.
Seeing those four parts together now that they’re finished, I’m very satisfied with this part of the probe and I think it goes very well with the main parts I did a while back:
I’m sure it’ll be a great prop when it’s all done. And I sure hope that I’ll be able to make some more progress in the near future, too! 🙂
What do you think? The good, the bad and the ugly – I’d love to hear back from you in any case, either via a comment below or via eMail!
Also, if you want to watch my prop-related activities more closely you should follow me on Twitter. Every time I’m in my workshop, you’ll know it instantly and see what I’m doing in real-time before anyone else can read about it here on the blog. Sounds like something you might enjoy? Follow me @trekprops and get the inside scoop!




6 Responses to “Work in Progress: Neutrino Probe – Business End”
Markus on: November 19th, 2010 at 10:47
Hi there,
GREAT WORK!
I think the parts look really good, so smooth and all. Nice job with the sanding! I’m really looking forward to seeing this thing painted and put together with the rest of the probe.
Well done and PLEASE: don’t take another year to continue working on this project.
Markus
trekprops.de on: November 19th, 2010 at 11:05
Thanks and I’ll do my best! 😉
Jhusel on: November 23rd, 2010 at 04:05
Superb!!!!! A lot of work went into this and it paid off. I love the technique of tape and paint to create those grooves. Very ingenious!
Jhusel
Laura Rich on: August 14th, 2012 at 16:03
This is pretty cool. I work with wood and leather and am very impressed. Makes me want to get a laythe so I can do something similar! I wonder if you could have found a tip or cap of a clear or blue acrylic pen that would have worked for the business end?
trekprops.de on: August 14th, 2012 at 19:34
I might have been able to find something *similar*, but that’s usually not good enough for me. Besides, I like to make the stuff myself. 😉 I would’ve only used a found item if it was the exact same item that was used for the original prop. Since the tip of the original probe was made from turned acrylic, I wanted to get as close as possible since I have no means to turn acrylic. My version will also help with reproducability. Is that even a word? 😉
Work in Progress: Neutrino Probe – Molding on: October 19th, 2014 at 14:15
[…] next piece to mold with an interesting story is the emitter. As you might remember from this blog post, I built one using styrene, putty and primer way back after I did the main parts of the probe. It […]
Post a Comment
Want to see your picture next to your comment? Go get a Gravatar!