Work In Progress: Neutrino Probe – Main Parts
 After my efforts of starting a Neutrino Probe replica were suddenly brought to a halt last week, I couldn’t do anything but wait for my Dad to repair the lathe which had broke down on us. Fortunately, he was able to find a new capacitor quickly and replaced it in no time at all. So, we could schedule a new session to get back to work. This time, there were no interruptions and I was able to continuously work on the three main parts for two days.
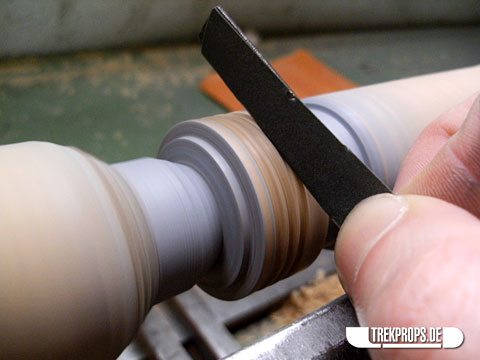
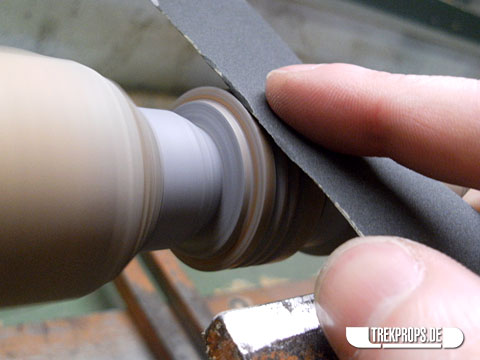
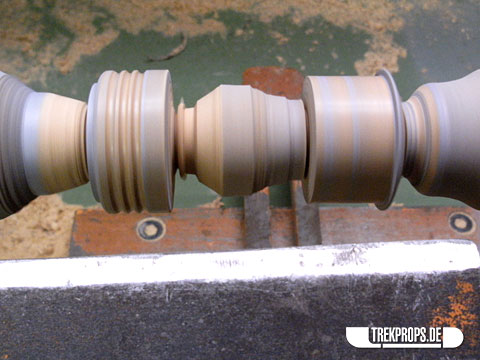
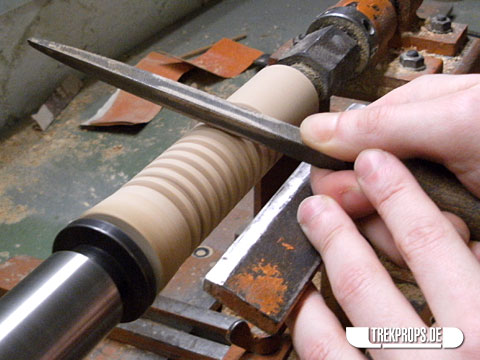
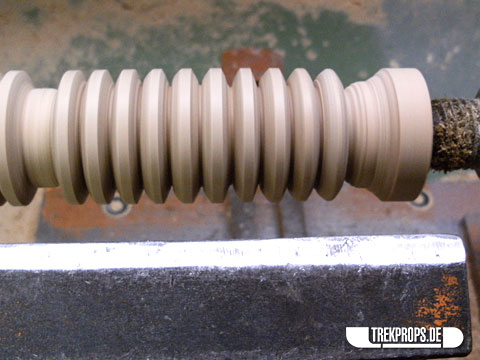
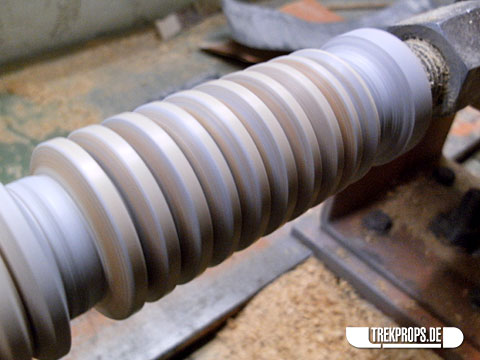
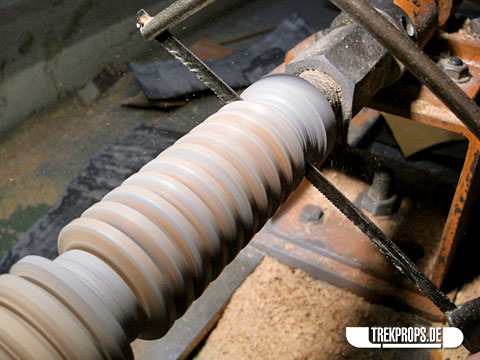
Even if I had to deal with a few setbacks, the work went forward quite smoothly and pretty much the way I had imagined it. However, some serious precision work was necessary to make the parts as accurate and clean as they turned out to be, which was no easy task at all! As you can see in the pictures below, I shaped the wooden raw material with knives, saws, files and of course different kinds of sandpaper until I was satisfied with the results, while permanently applying coats of primer in between to reveal rough spots and other blemishes yet to be smoothed out. The most useful tool in this process? My caliper, which I used to continuously measure the thickness of the ribs, the spacing between them, etc. Without it, the parts undoubtedly wouldn’t have turned out this nice.
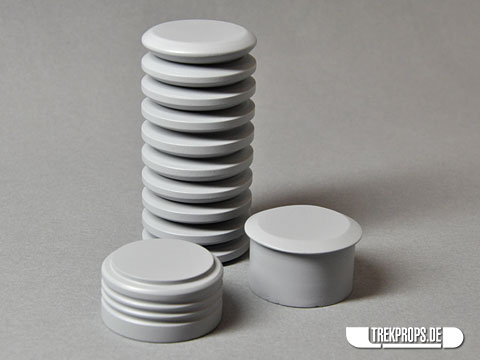
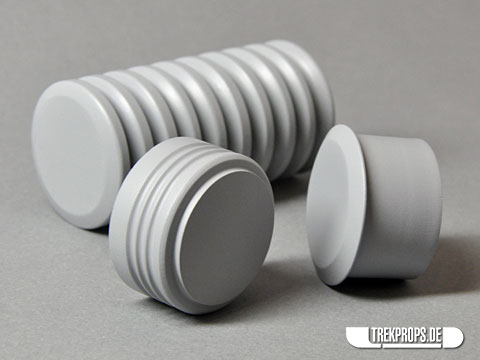
Of course, the pieces are not 100% symmetrical or exactly like my schematics, but I’m very pleased with the results nonetheless. The three parts I made in this manner are the ribbed middle section as well as the two back pieces. I decided to do the latter ones separately so I could make seamless resin castings of them later by using a one-piece silicone mold for each – in contrast to a two-part mold for a bigger piece, which would have a seam line by default.
So, without further ado, here are the pictures. First, the finished parts:
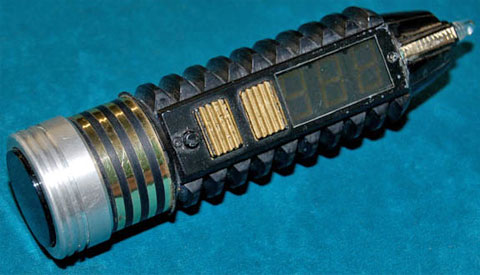
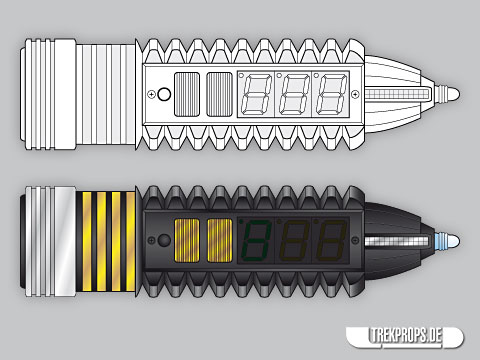
The original prop and my schematics for comparison:
And here are some progress pictures:
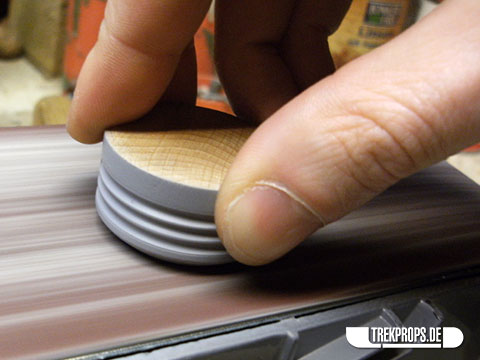
Very useful for making flat surfaces truly flat: a belt sander.
Humble beginnings…
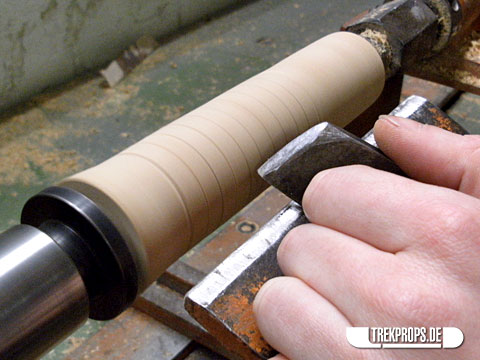
Expanding the grooves.
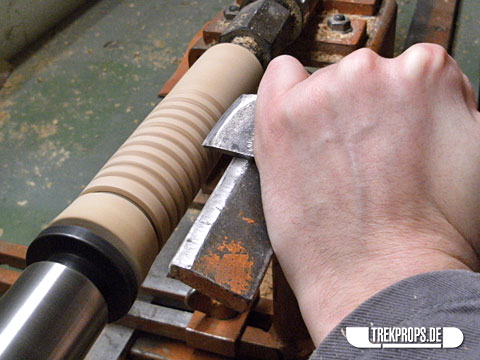
Cutting deeper to match my schematics.
Some filing action to accurately shape the ribs.
Splash coat applied to reveal all kinds of blemishes.
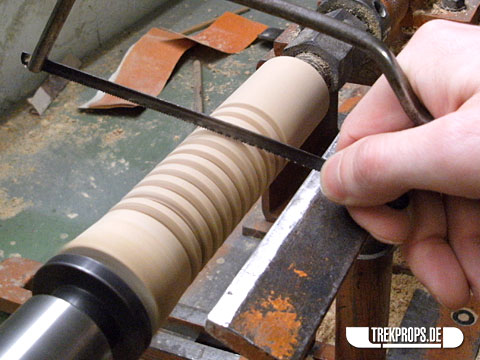
The final cut to trim the piece from the excess wood.
The next part of the probe I want to tackle is the tip of the tool, which I will have to scratch build since I wasn’t able to identify the nose hair trimmer part that was originally used for this purpose.
Keep watching the blog for more updates. If you want to catch additional info between my blog entries, follow me on Twitter: @trekprops!

6 Responses to “Work In Progress: Neutrino Probe – Main Parts”
Alex Walker on: November 24th, 2009 at 04:06
Awesome work!
trekprops.de on: November 24th, 2009 at 11:53
Thanks Alex, I appreciate it! 🙂
Andrew Cook on: January 11th, 2010 at 17:58
I love this build, i can’t wait to see the rest so then i can have a go myself! Bring on the other props too!
trekprops.de on: January 11th, 2010 at 18:04
Keep looking, there will be an update soon! 😉
The GG on: February 22nd, 2010 at 05:46
I am so excited about seeing this progress!!! I hope there is another update soon!!!
Work in Progress: Neutrino Probe – Molding on: April 2nd, 2014 at 21:42
[…] you remember, the main body of the Neutrino Probe (minus the emitter) consists of five pieces – some of them big and some of […]
Post a Comment
Want to see your picture next to your comment? Go get a Gravatar!