Work In Progress: ODN Scanner – Part II (Molding)
 In this second installment of my ODN Scanner progress report I will describe how the finished master model (see Part I) is used to fabricate a silicone rubber mold which then can be used to cast resin kit parts.
Because the finished prop was supposed to contain an electric circuit with a super bright red LED and five green sequencing lights, the mold had to be done in a way so that the later resin casting is hollow. This could only be achieved by doing two resin halves which were then put together. This circumstance didn’t make the task of molding the prototype any easier…
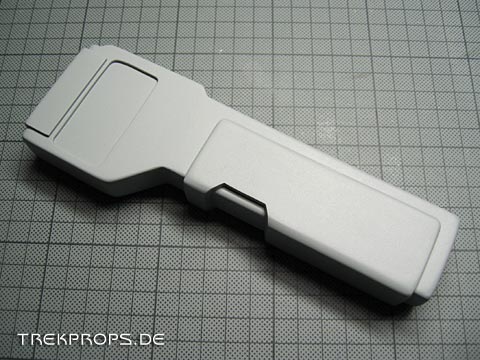
Here’s again the finished master model just like it was about to be duplicated. To reveal small imperfections, I already applied some coats of primer and then repaired whatever didn’t seem right.
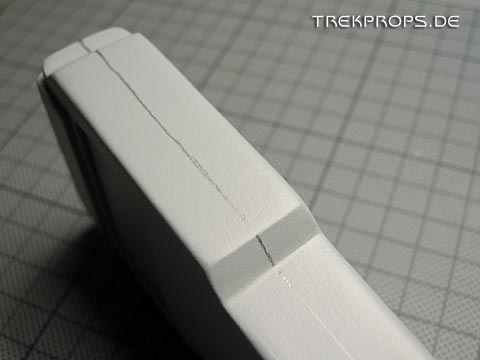
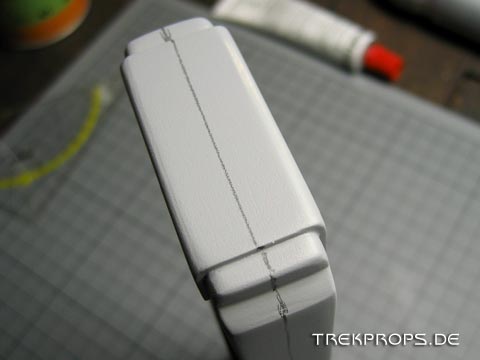
Since both halves of the cast resin parts should be as symmetrical as possible, I marked the middle of the body using a pencil. This helped me to accurately shape the clay bed later.
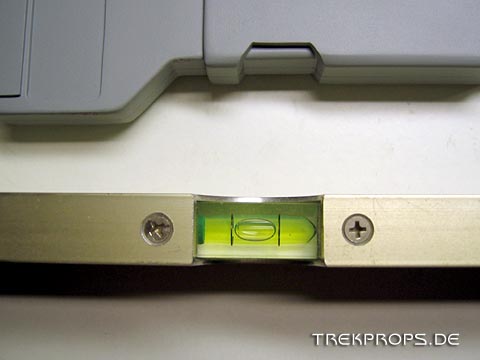
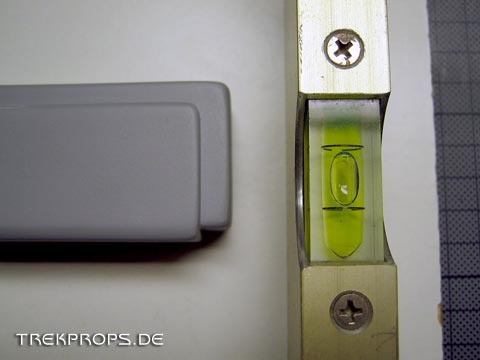
Next I had to make sure the work surface was leveled. This is checked best using a spirit level. If the work surface is not leveled now, the seam line of the two resin halves will not be straight later and they won’t fit together.
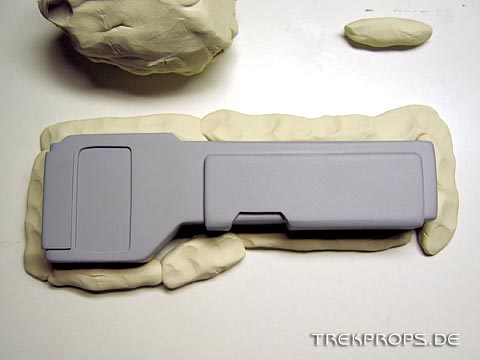
The next step is the most difficult and time consuming part of making a two part mold: The master model has to be half embedded in clay to create the first half of the mold. The above mentioned marking on the body of the prototype now helped me.
Be sure not to use just some material for this but non-reactive clay to avoid inhibiting the chemical reaction of the two silicone rubber components. To ensure that, I use a clay that doesn’t contain any sulfates and is oil-based. It works very well together with the additive cross-linked precision casting silicone I use.
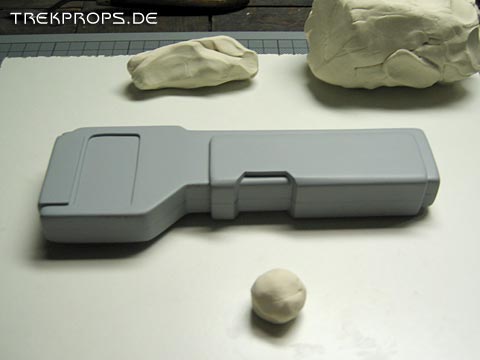
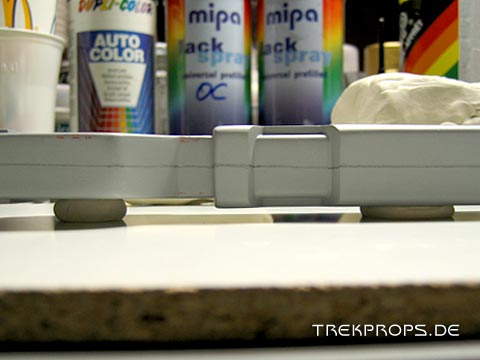
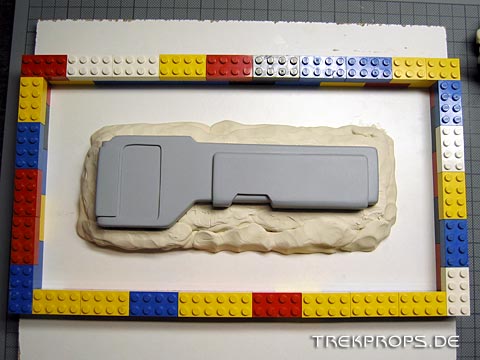
The master model has be mounted evenly on the work surface. I achieved that by sticking chunks of clay under it to stabilize it:
Next up is the task of shaping the clay bed. I started by putting material close around the prototype body and then worked my way away from it.
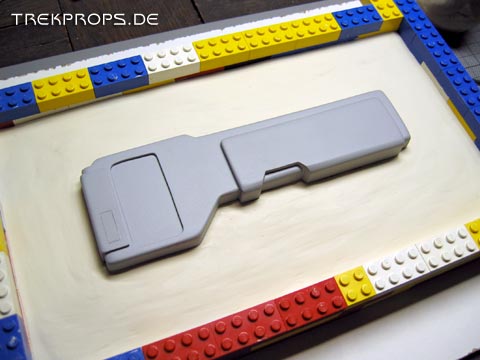
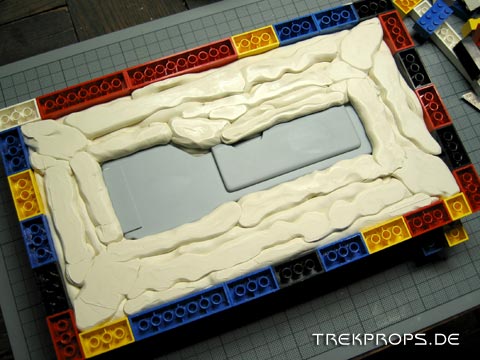
Now the mold box had to be created. It determines the final size of the mold. Most people use styrene or wood to construct this box and seal the corners with clay but I found that LEGO bricks work very well because they can be re-used every time to create boxes of different sizes and the buildup of the box is fast and easy..
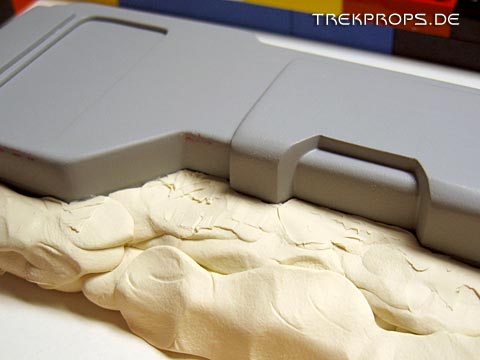
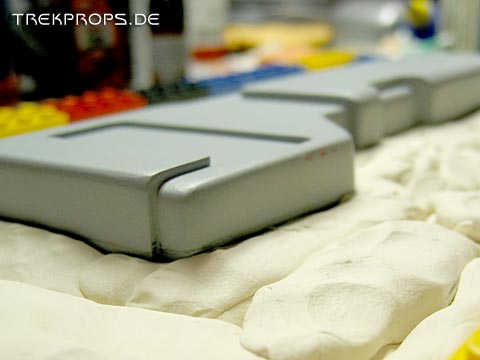
Now comes the tricky part: The important thing is that exactly half of the model has to be embedded in the clay. This just alleviates the buildup of the kit later. Also very important is the fact that the clay needs to be aligned exactly to the body. There mustn’t appear any gaps between the model and the clay. This could be repaired later, but it’s easier to do it right here. So, precise modeling work is in order here!
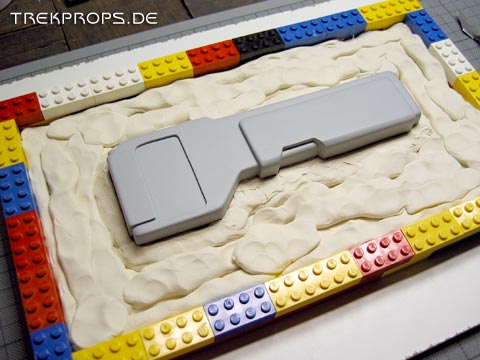
Of course, the entire inside of the mold box has to be filled with clay. As you can see here, I first did this only roughly and then did the fine tuning later to get the surface smooth and to close all the gaps between prototype and clay.
Still quite some work to do here!
The next picture shows a pretty good progress on the clay bed. To do the shaping I use a putty knife which makes it easy to reach tricky areas, for example corners.
Remeber to wear gloves! Otherwise the clay will get stuck under your fingernails which is quite uncomfortable. Furthermore, the clay will get dirty rather quickly if it is exposed directly to your fingers even if you washed your hands before!
Here’s the result after a lot of work: The surface is now very smooth and there are no more gaps anywhere.
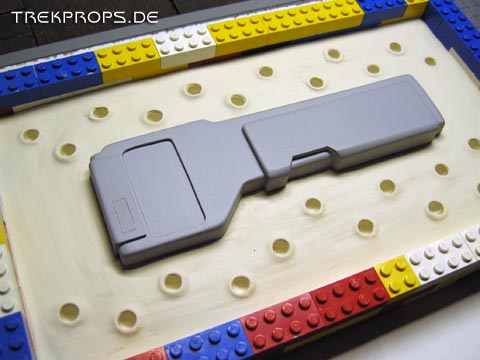
Next I used a pen shaped tool to create several small indentations in the clay around the model. They will later become pins as the silicone flows into them and cures. The other mold half will then again show these troughs and both halves will be perfectly aligned to each other.
This is important for creating solid castings by pouring the resin into the mold while both halves are closed. Even though this was not the type of casting I wanted to do, I nevertheless chose to implement this step because it’s not possible to add it later.
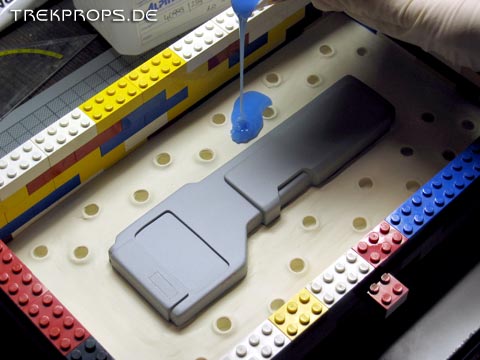
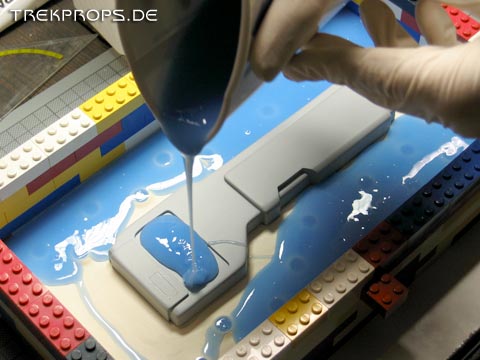
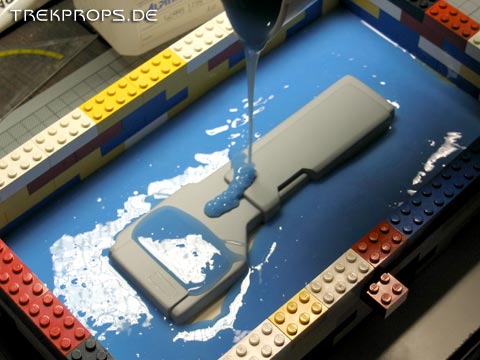
After I had enlarged the mold box up to the desired height, I was ready to pour the mixed silicone rubber into it:
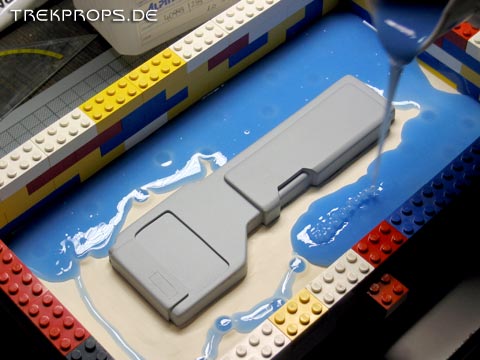
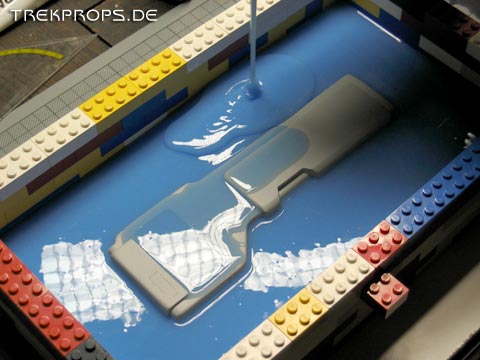
The deepest areas have to be filled with rubber first to avoid air bubbles. For the same reason you should pour a thin stream so that bubbles cannot occur in the first place and those created by the mixing of the silicone components can break.
When the prototype is completely covered with silicone, you need to add at least one more centimeter in height to make sure the “base” of the mold is thick enough.
After the silicone has cured, the entire mold can be turned around, …
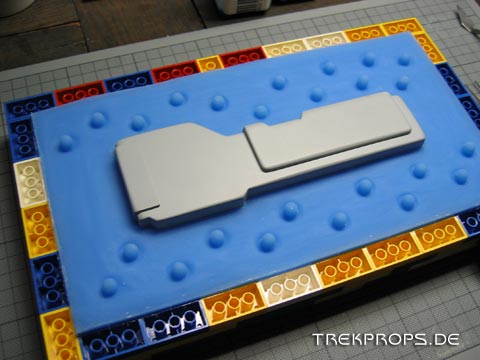
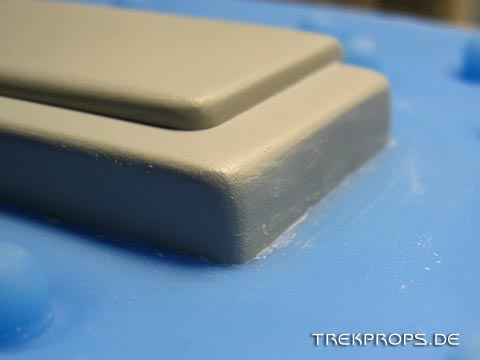
… the LEGO bricks can be dismantled and the clay can be removed. Be careful not to move the master model in any way. Note the above mentioned pins in the silicone.
Remaining clay residue has to be removed.
Most silicones are self-seperating, which means that the master model won’t get stuck to the rubber so it can easily be demolded. This however isn’t the case when silicone is poured onto silicone. In this case, the two rubber parts would bond together and become one piece.
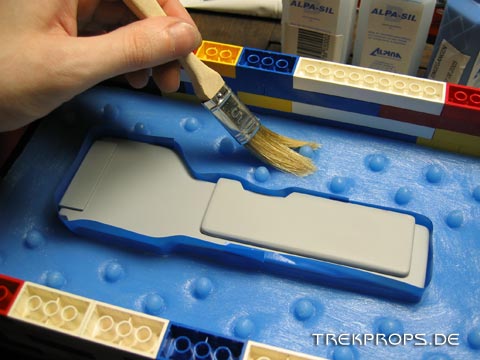
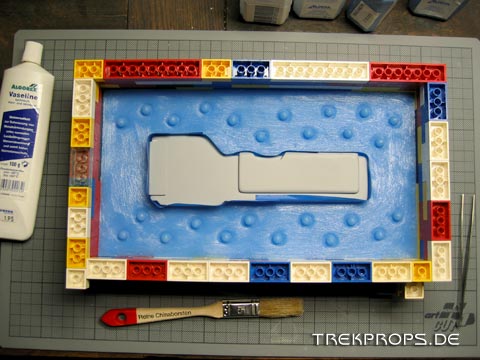
So, to avoid enclosing the prototype into a solid block of rubber, I had to apply a release agent to the first mold half. I used vaseline for this, which I brushed on carefully. Don’t be stingy with the release agent! The more you apply, the easier the demolding process will be. Remember to mask the master model off to avoid blemishing it with brush marks which would be transferred to the new mold half.
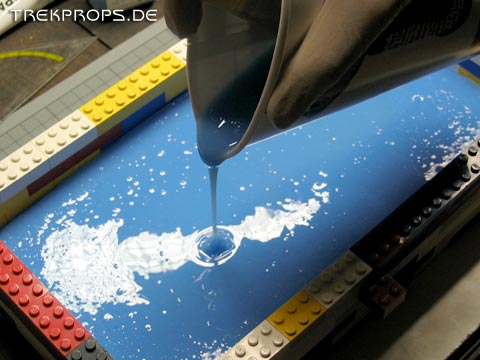
After I had removed the masking tape, I repeated the above pictured step of pouring the silicone into the mold, waited until it had cured, demolded the prototype and disassembled the LEGO frame. Here’s the result:
The silicone mold is now finished and ready to be used for resin casting. However, if I had used this mold as it is to cast parts, they would have been solid just like the master model. This however, wasn’t my goal. I wanted to create two resin shells in which I could install electronics. So, I had to do a little more work on this mold to make that happen.
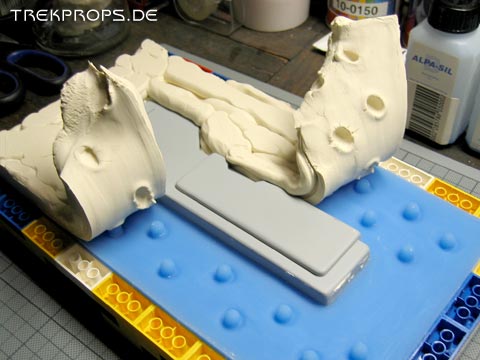
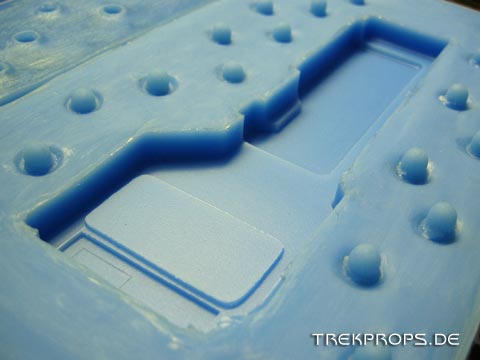
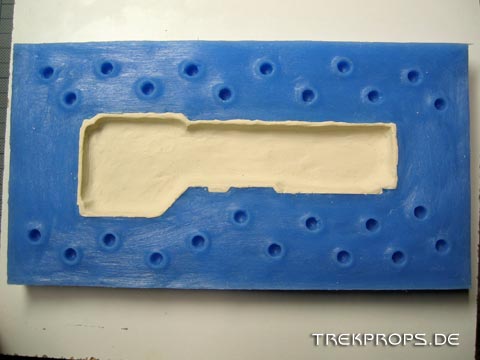
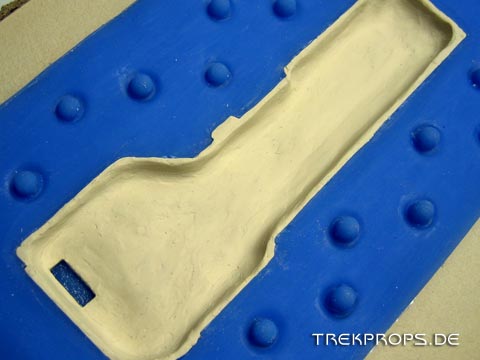
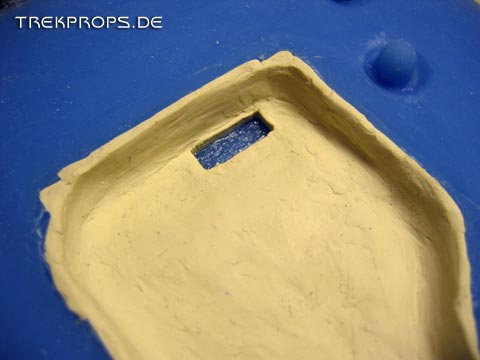
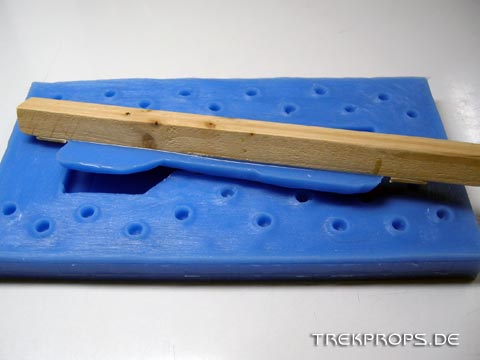
In order to get hollow resin shells I had to find a way to displace the resin that I would pour into the mold halves. The first step to achieve this was to use clay again to shape “walls” which had exactly the thickness that I wanted for the resin pieces later. Everything that I made out of clay here, would become resin later.
Note the recess for the LEDs!
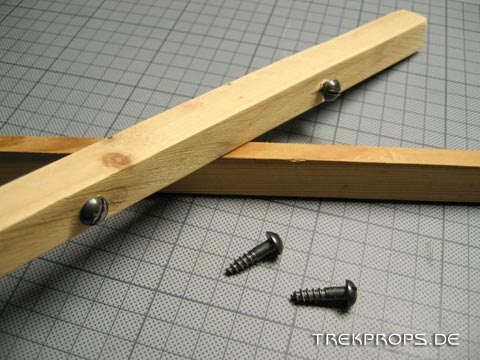
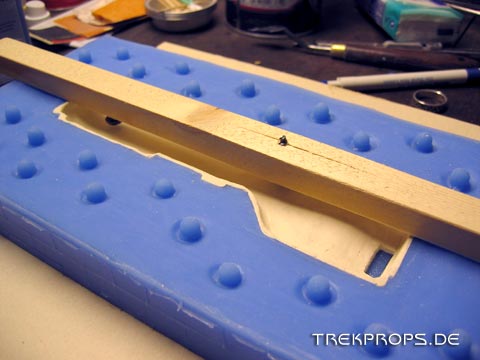
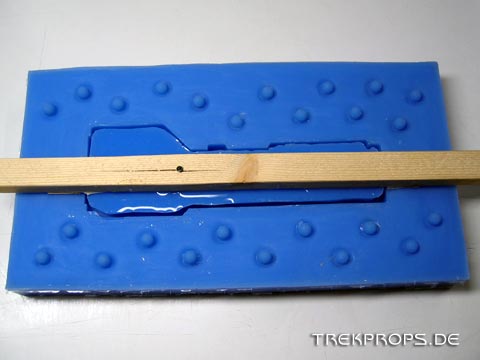
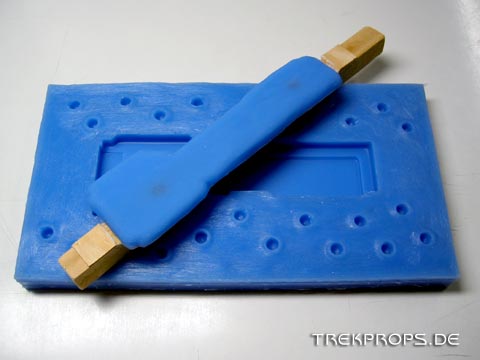
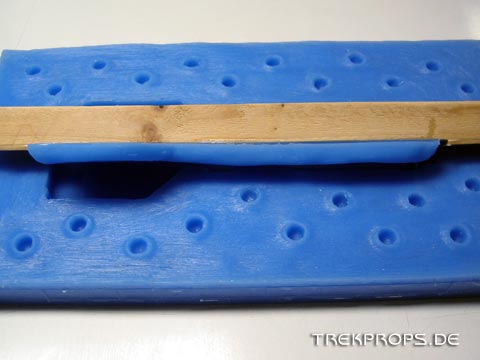
Next, I placed wooden slats with screws in them over the mold. The screw heads had the purpose to attach themselves to the silicone rubber I was about to pour into the clay lined mold. This way I would have a comfortable handle to place the inner silicone displacement piece inside the mold later.
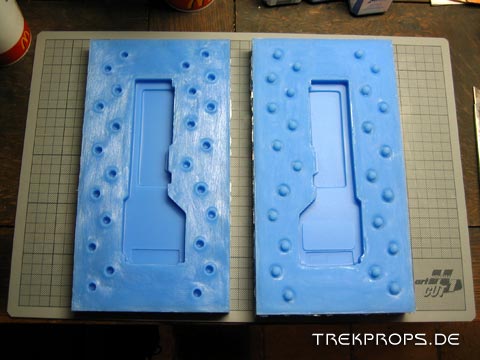
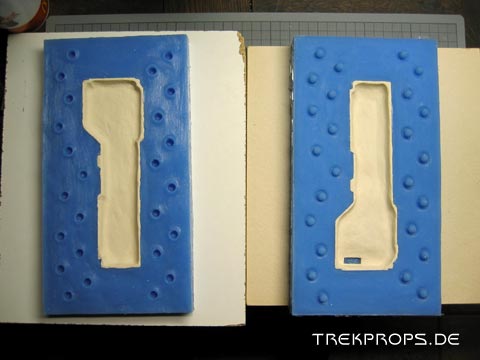
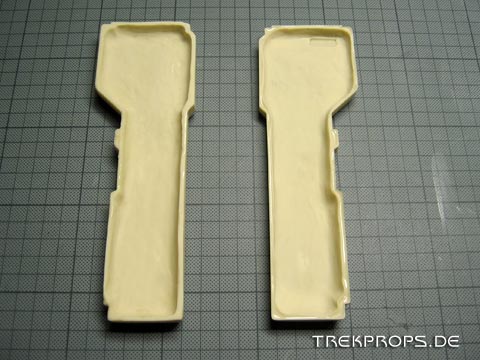
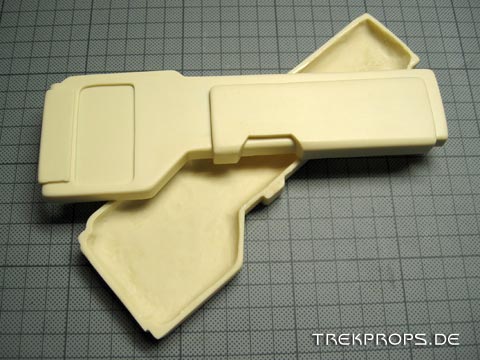
Here’s the result of this rather complex mold making process: two two-part mold halves (front side and back side, only one half is pictured) which produce two resin shells that fit exactly together (well, more or less since there’s always some excess resin that needs to be sanded off).
The development of the two most important parts for the ODN Scanner kit is thus complete and the buildup of the hero prop can now begin!






3 Responses to “Work In Progress: ODN Scanner – Part II (Molding)”
Jesus Martinez on: November 21st, 2009 at 22:03
Excellent job on the ODN Scanner very accurate,I’m thinking of building one I also do props and models. I like your tecnique, very sound. do you still sell the kit? and how much is it? i’m in the U.S. Florida to be presice. let me know what else you got!!!
regards
Jesus Martinez
trekprops.de on: November 21st, 2009 at 22:09
Thanks for the praise. I’ll send you an eMail concerning that kit.
Have a look around the blog for my other props. Almost all I have is here. My newest project is the Neutrino Probe, on which I’ll be posting an update tomorrow!
Work in Progress: Neutrino Probe – Molding on: April 2nd, 2014 at 21:40
[…] the casting hollow. Since my “resin displacement”-technique worked so well with the ODN Scanner, I didn’t think twice to use this method again here. The idea is to manufacture a rubber […]
Post a Comment
Want to see your picture next to your comment? Go get a Gravatar!