Makeover: Mobile Holo-Emitter
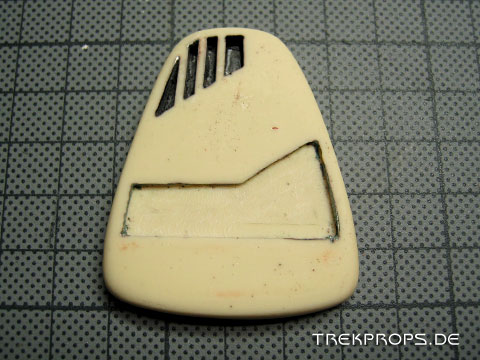
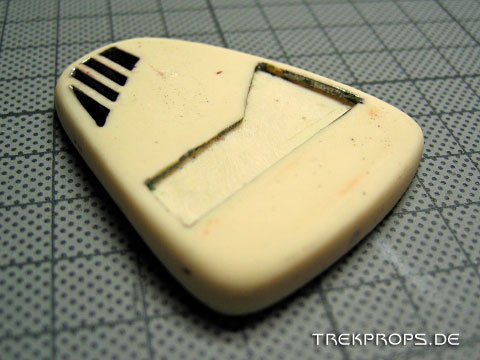
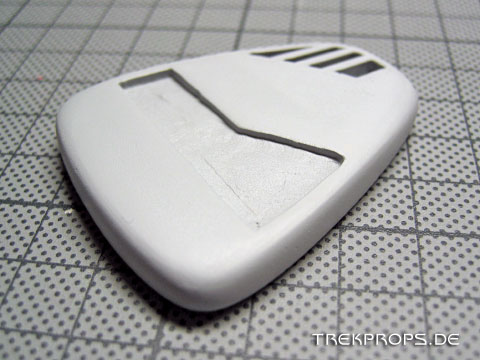
 When I got my mobile holo-emitter in an exchange deal, there were some things I didn’t like about it: First off, the curcuit graphic which had been made from a gold foil with the pattern printed green on it was not cut out accurately thus being too small for the intended place. This was especially distracting in the upper right corner of the indentation where the gap was really quite big. Second, the surface of the prop wasn’t really worked up to the degree of a smooth finish I would have liked to have. There were dents and it was not clean and I didn’t like that.
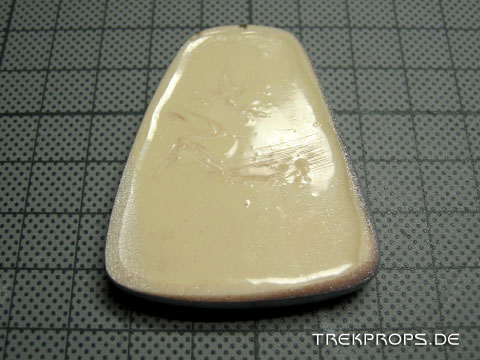
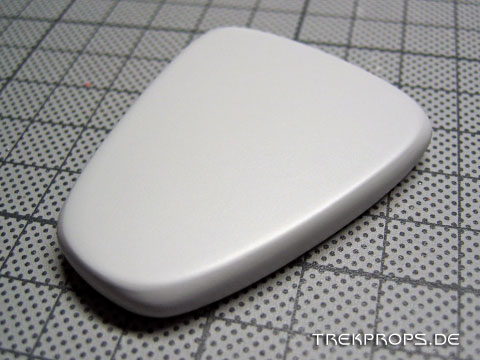
Thirdly, the color of the prop was way too light. Additionally, the backside of it wasn’t painted at all! The naked resin revealed itself which was simply unacceptable for me.
Here are a few pictures:
No doubt about it, I had to do some face-lifting work there.
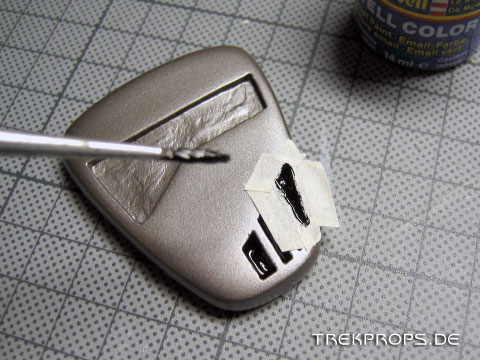
My first step was to sand down the old paint completely and to remove the circuit graphic. I removed the paint residue from the “ground” of the circuit depression using an appropriate attachment for my dremel. This technique however didn’t work with the four upper small slots.
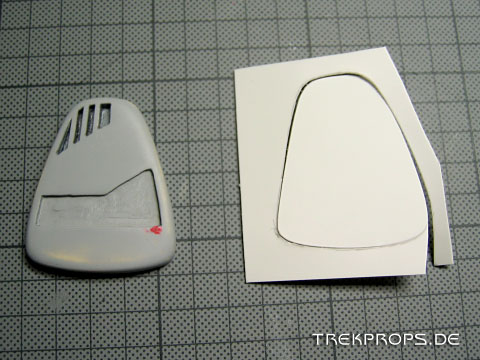
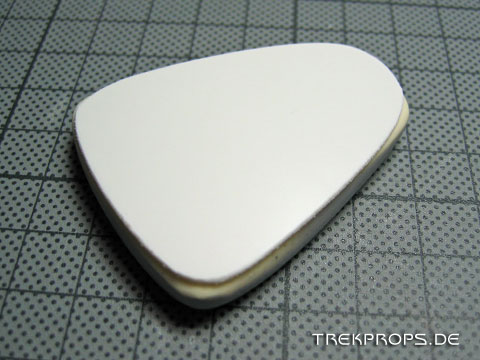
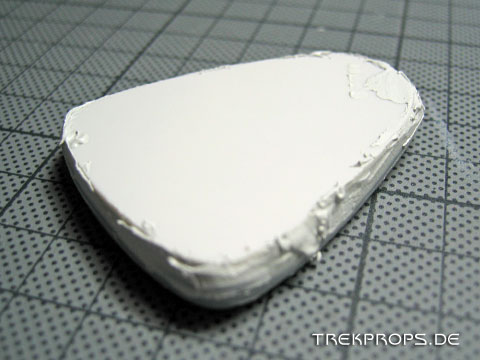
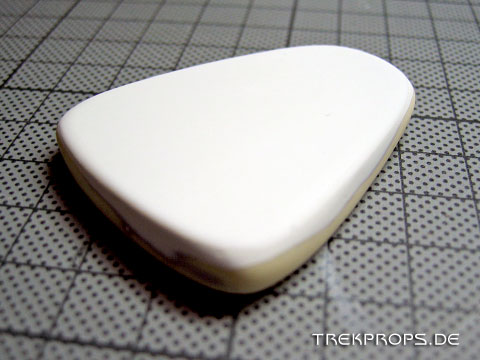
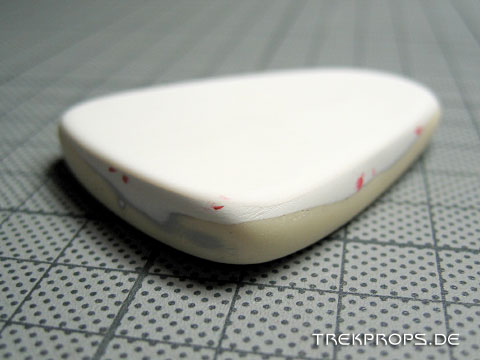
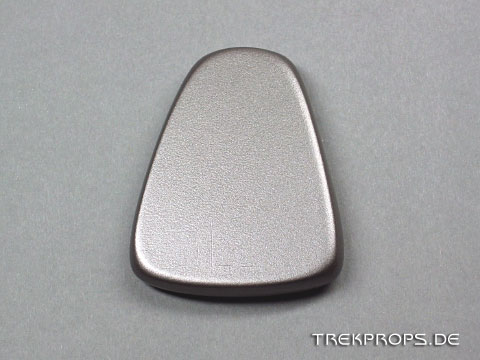
Next up was the backside. Since there was the raw resin visible – being everything but flat and even, I decided to strengthen it with styrene.
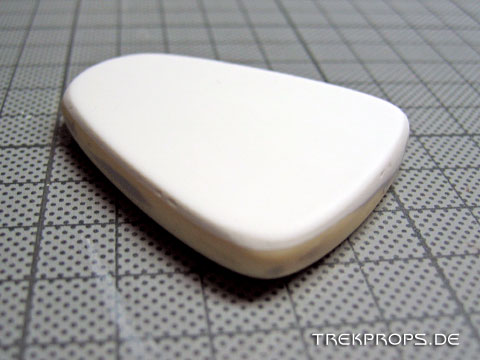
Some putty and sanding work helped here to make it look much better. There were however still imperfections left to eliminate.
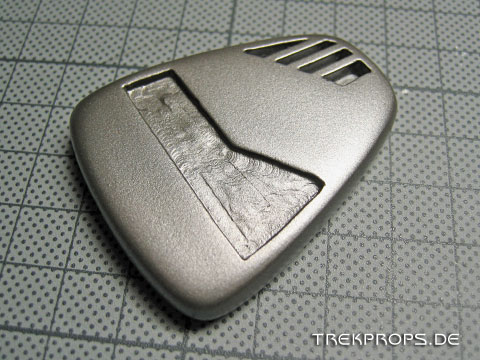
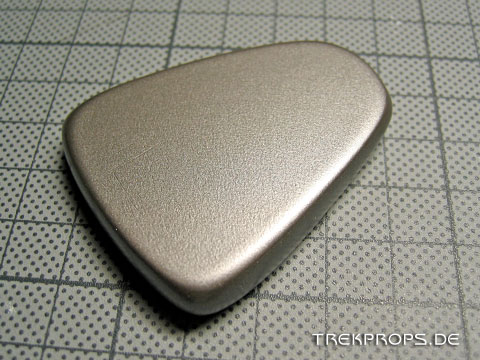
After I had repaired all of the blemishes with spot putty, I could then primer and paint the piece. Since the original color – Plasti-kote 7173 – was never available in Germany and the original composition has been changed even in the US, I used a custom mixed equivalent that is indistinguishable from the original color.
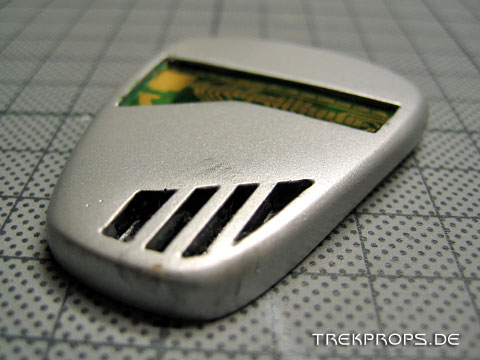
Now I had to attend to the four small vents on the top of the prop. They had to be painted black again. Not an easy task to cover all of the insides with paint without messing up the front…
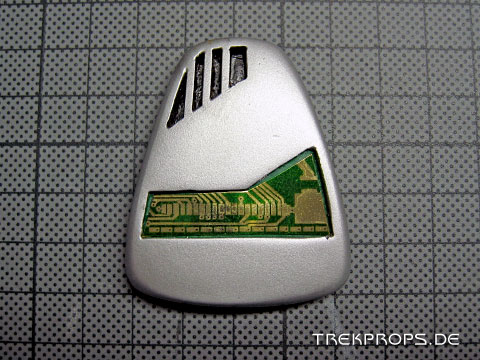
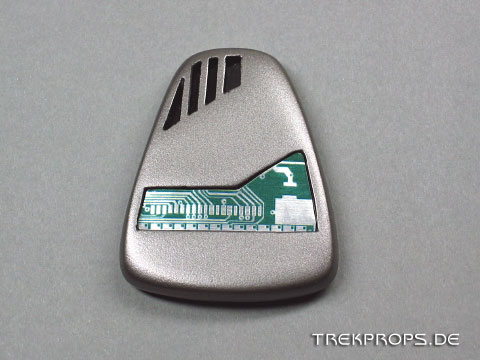
After I had cut the new circuit graphic, adjusted it to fit inside the depression and glued it in, I was satisfied with the result:
Looking back to the beginning I think that reworking this prop was worth the effort. The color is now accurate and the surface looks a lot cleaner and smoother. Only one question remains: How can I activate the darn thing…?

4 Responses to “Makeover: Mobile Holo-Emitter”
Shyaporn Theerakulstit on: November 14th, 2019 at 16:53
Trying to make one myself. Could you tell me the dimensions, or let me know what the grid scale on your cutting mat is? Are those centimeter squares?
trekprops.de on: November 15th, 2019 at 08:25
Yes, these are centimeter squares. I don’t have the dimensions at hand right now, sorry.
Ralph on: April 14th, 2025 at 06:29
Nice work!
Could you please tell how you printed the circuit? Did you print it on yourself?
Thanks a lot!
trekprops.de on: April 18th, 2025 at 00:54
Hi Ralph, I did not print it myself. I got it from somewhere, but I don’t remember where. It’s been a long time ago, sorry.
Post a Comment
Want to see your picture next to your comment? Go get a Gravatar!