Voyager Desktop Computer
 Today I want to show you something very special. What makes it so special you ask? Well, for one, it took me many months to complete it and is probably the single most elaborate prop replica I’ve ever done. And the biggest one in terms of size and weight for sure. Also, it’s got a few surprises up its sleeve which I think you will like. Yes, you’ve read about it here before and yes, you might have seen me work on it on Twitter if you follow me there. Prepare yourself for lots of text and quite a lot of pictures, too!
What I’m talking about is a hero replica of the desktop computer from Star Trek: Voyager as seen all over the ship, for example in various crew quarters, sickbay and of course Janeways office. There were several different color versions of this prop: The crew quarter version of the early seasons were beige, the sickbay version was of a blue metallic color and Janeways personal unit in her ready room usually had a unique greenish tint. For my replica however, I chose to use the “standard” Starfleet paint, meaning a PK 7173 equivalent for a nice metallic grey finish.
Let’s have a look at the finished piece first:
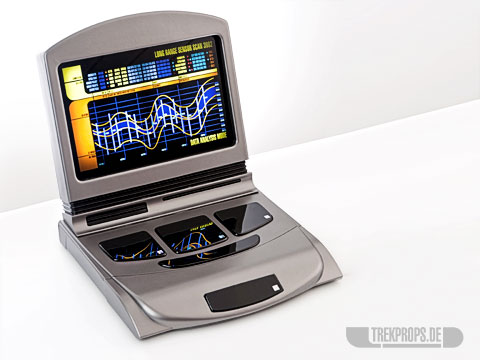
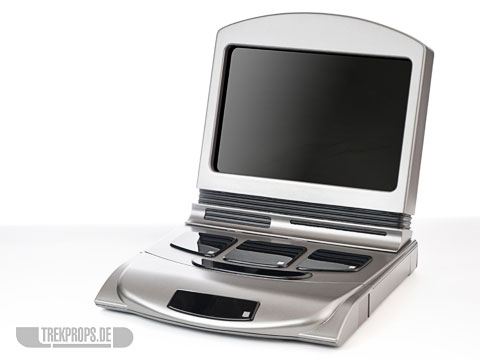

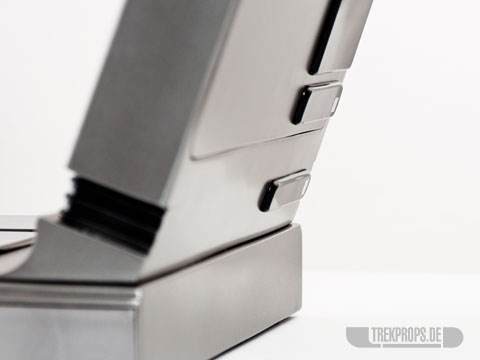
The whole unit is completely serviceable: The back plate – held in place by six small magnets – can be taken off to get to the electronics behind the screen and the whole display segment can be removed from the base piece to access the inner workings located in there.
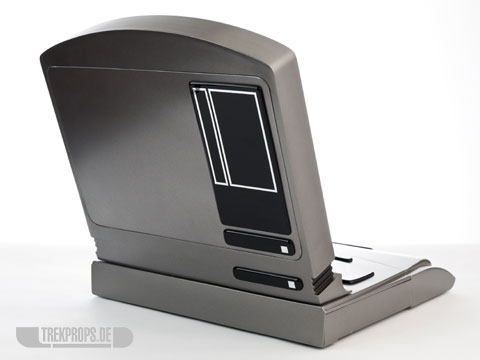
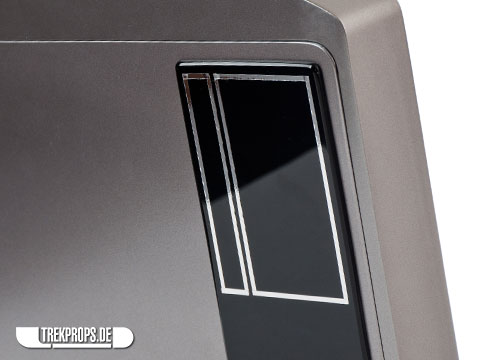
As you can see, the unit has a very nice lit up display and that’s also its first distinctive feature: To accurately replicate the look of the original prop, I didn’t want to use a printed transparency or something and stick it inside the screen, since I knew that this would look pretty washed out and generally not good. Instead I got my display graphic of choice exposed on a piece of actual photographic film as they did in the old days. This got me essentially a large format slide with vivid colors and sharp text. The great thing about this is that the black areas are truly black because no light can shine through. To make it perfect I put the slide behind a piece of smoked plexi, which made sure that the screen is almost completely black when the backlight is turned off, just like it was on the originals. Behind the graphic are two layers of diffusion material to spread the light on the screen as widely as possible. It goes without saying that this kind of setup needs a lot of light from behind to make the display nice and bright – an array of 320 ultra-bright white LEDs to be exact.
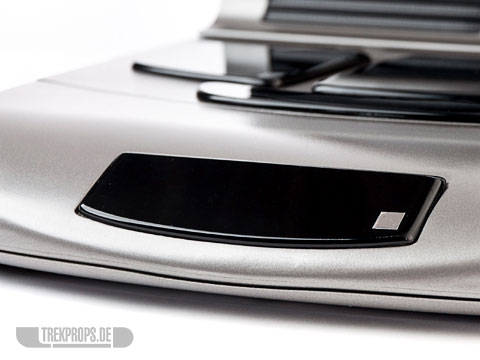
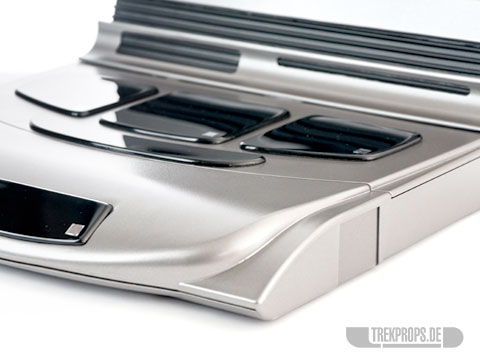
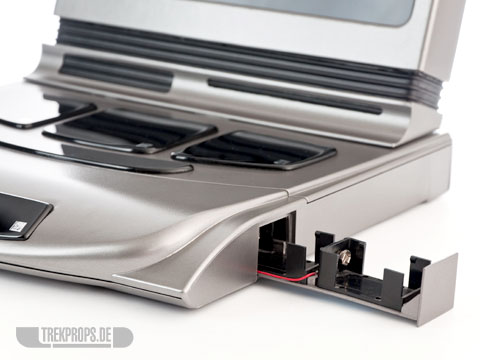
Let’s continue with the next issue that I had to cope with: power supply. Whenever I construct something, I like to have options. With this in mind, I wanted to be able to operate this prop using batteries (two 9 volt blocks for independence from an external power source) as well as a wall cord (for long-term operation without having to worry about batteries running out of juice). So, I installed both, which of course meant that I needed to have a battery holder somewhere. But where should I put it? I wanted it to be both easily accessible as well as hidden from the user so that there would be no indication of present day technology on the unit whatsoever. Same goes for the switch by the way, but I’ll get to that in a minute. Here’s my solution for the battery holder: I hid it inside one of the former power plugs of the APC power switcher/-manager/surge protector base unit, located on the side:
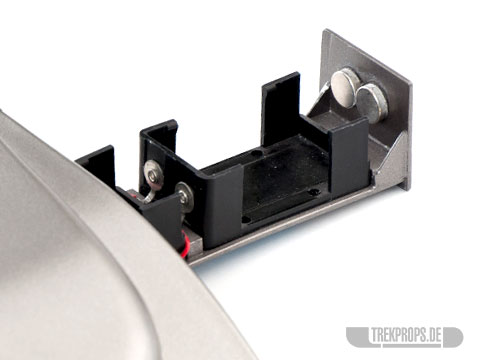
Of course I not only had to find a solution for the battery holder itself, but also for a way to open it. After all, I didn’t want to attach any kind of handle on the outside, since that again would have been a disruption of the smoothness of the unit. So, I devised an unobtrusive way to open it and attached a strong magnet (two, actually) on the inside of the sliding carriage. I figured that you would naturally always have a new battery at your fingertips, when you want to insert new ones or replace empty ones. And since batteries do attach themselves to magnets, you can simply put one of them near the door, let it snap on and then pull out the holder using the battery as a grip. Then you detach the battery from the door and insert it into the holder.

As mentioned above, the alternative to the batteries is a power cord that goes into the wall and keeps the unit running indefinitely, at least within certain limits. 😉 The cord is also hidden inside the base unit and can be pulled out, unwinding from a small retractable cable roll. When you’re done, you just let it slide back inside. I have not pictured it here, but you’ll be able to see it among the wip pictures.
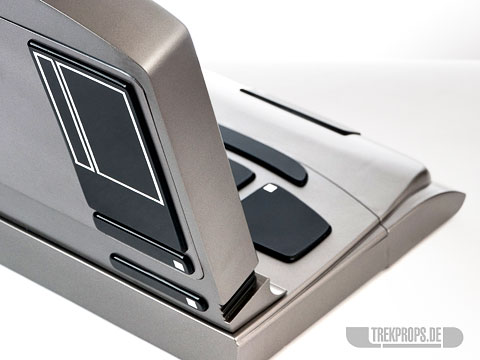
Lastly I want to talk about the third and coolest special feature this replica possesses, which is the on/off-“switch”. As you might be able to figure out from the way I put it in quotation marks, it’s not a standard switch at all. When I thought about how to turn this thing on and off, a mechanical switch or button quickly was out of the question. After all, where should I put it? On the side and ruin the sleek lines of the case? Inside or on the underside and make it ridiculously cumbersome to activate? Under one of the black plexi parts on the base unit and risk unreliability and a wobbly part in plain sight? All not acceptable options in my book. So I began experimenting with various other ways to toggle the circuit. First I thought about some kind of touch sensor that I could place under the foremost black “key”. Such a sensor would not raise the key at all, so nothing would wobble and it would be practically invisible. Sadly, that didn’t work out. Next, I tried a clap sensor, but couldn’t make it work power-wise. I also was afraid that some random noise would unintentionally activate the prop in an inappropriate situation.
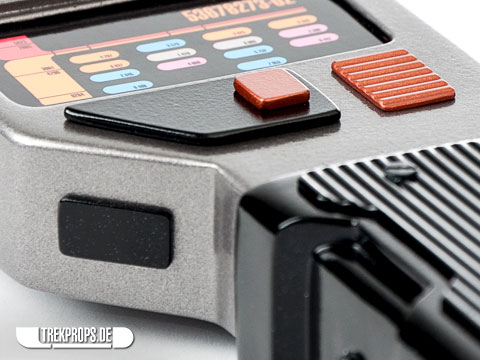
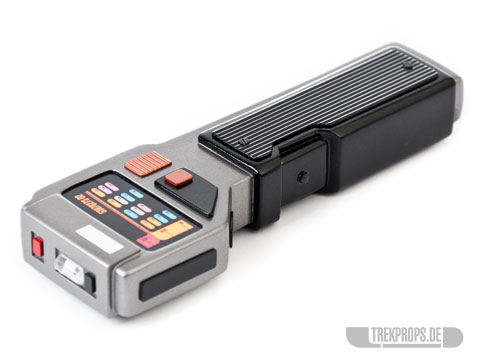
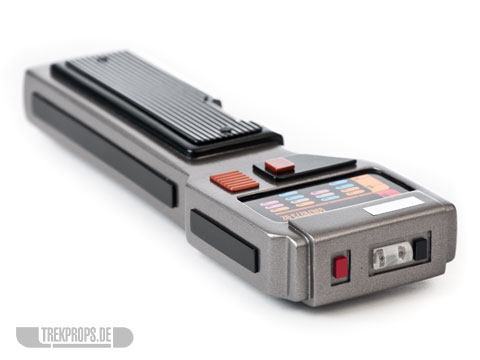
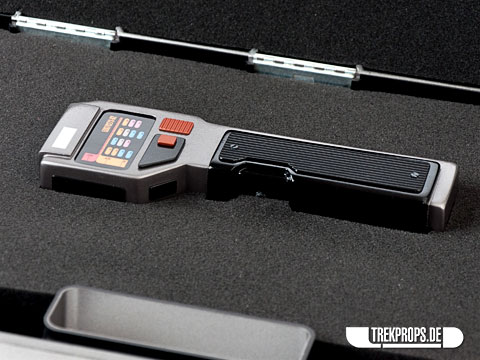
So, I went for the – in my opinion – last remaining and also most awesome option, which is a remote control. And I’m not talking about one of these lame TV-like infrared remotes where you need line of sight for it to work. No, I used an actual radio wave remote with enough range to turn on the prop from a distance of several meters at least. Of course, this remote had to have style and needed to fit neatly into the Star Trek universe, so I installed the circuit into one of my ODN Scanner bodies, which had enough room inside and then some. To differentiate it from my usual ODN Scanner builds, I painted this one in an alternative color scheme accurate to the usage of the scanner in Voyager’s seventh-season episode “Repression” (7×04) with a black handle, a custom display graphic and a blue LED in the front:
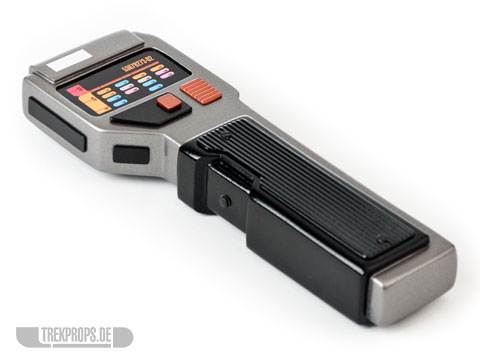

Handling the remote control is as simple as pressing the button on it to trigger the backlight inside the desktop viewer. Press it again to turn off. Very cool!
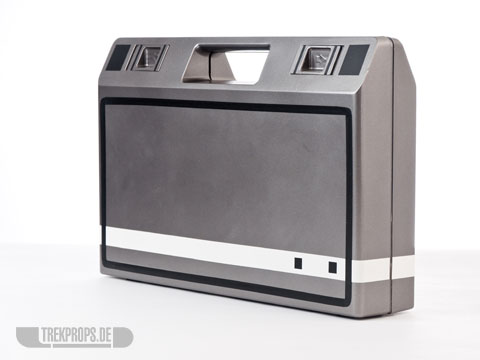
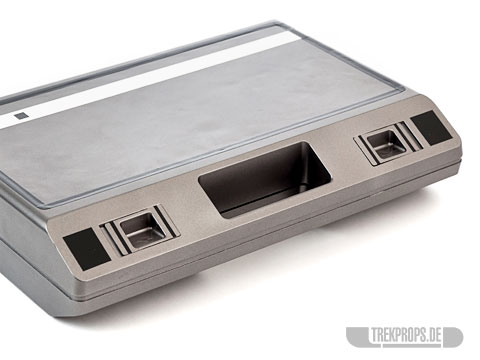
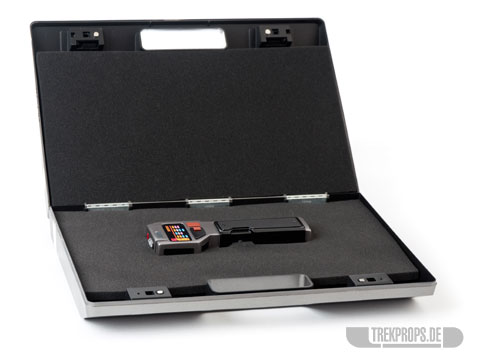
To complete the set, I finished one of my TNG engineering tool cases and outfitted it with a nice inlay of black foam material to accommodate the ODN Scanner/remote control:
So, what do you think of my newest build? I’d love to hear from you. Feel free to leave a comment or drop me a line at info@trekprops.de.
Stay tuned for the upcoming wip post with a LOT of progress pictures!

7 Responses to “Voyager Desktop Computer”
Work in Progress: Voyager Desktop Computer on: August 8th, 2013 at 22:54
[…] my recent “show-off” post presenting my Voyager Desktop Computer, let’s now have a detailed look at how I built this prop, going through every step, from the […]
Frederic on: August 14th, 2013 at 01:04
Wow. That looks brilliant.
I would have put a LCD screen in the top and a small form factor PC (Raspberry Pi or Beagle Bone) into the base. With a few capacitive sensors under the various pads and a small lithium battery, you could make a working computer. I don’t know what operating system would be used. I think there might be a few Trekky Linux versions around.
microbuss on: October 9th, 2013 at 04:13
Would you believe the carrying case is actually a cassette holder? XD
Need to have mine painted like yours 😉
Nick on: March 25th, 2014 at 03:14
This looks amazing- great job! Very jealous!
Thom Oldford on: October 26th, 2015 at 00:25
THIS IS AMAZING!! i can’t believe how brilliant it is!
i have been wondering, though, if you have heard of anyone making it so that an iPad could be used in place of the screen – make it a functioning computer basically! i think that would be amazing too, but so far, i can’t find anyone that has made it or is even working on it.
trekprops.de on: October 26th, 2015 at 19:45
Thanks, Thom! I have heard of a few people who supposedly were trying to build an iPad into one of these, but I haven’t seen any finished props. Theoretically, it wouldn’t be difficult to do that. I’m not sure if an iPad screen fits these computers exactly, however. That’s the crux of the matter, I guess…
LaBber_94 on: September 2nd, 2019 at 14:27
want to buy a carryng case bu i cant find the perfect one because you dont selling this thinks your case is the best
Post a Comment
Want to see your picture next to your comment? Go get a Gravatar!